Personalised heat bags make such a great gift to give to any loved one. I made them a few years ago with a grade 2/3 class for father's day and the feedback was incredibly positive. I even had a few of the children's dads write me little 'thank you' notes!
The good news is that these are so easy to make. Children also love being able to add their creative designs and personalised touches.
Here is how to make a basic heat bag.
There are a few things that you will need to be able to make your heat bag but they are not anything too difficult to source. These include -
- 1/2 meter of canvas fabric (makes 1 heat bag)
- Fabric markers
- pencil or pen
- ruler
- scissors
- sewing machine with cotton
- iron
- 500g rice or wheat for filling
- needle and thread
Firstly fold over (or double up) your fabric. You can make your heat bag whatever shape you like, however, I think a simple square is the best when getting children involved in the process. Let's keep things easy to begin with.
I wanted a 20cm x 20cm heat bag so I measured a 22cm x 22cm square. I did this so it would allow for what is lost in the seam once it is sewn. Can you see in the picture above?
Cut out the two identical pieces and sew them together using a simple stitch around the edges. It's important that you don't sew one corner of the fabric together. We need this 'gap' as we are going to turn the fabric inside out once we have finished out sewing.
If you were doing the heart shape heat bag then it would look something like the above picture. Again, you can see that I have left an opening.
And now for the moment the children have been waiting for....decorating!
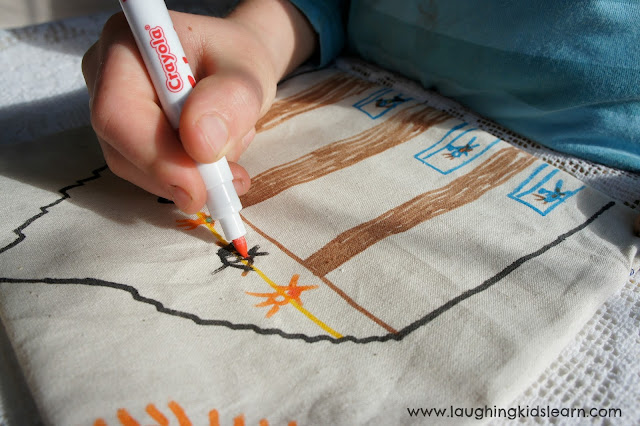
After recently visiting a war memorial with his dad, my nephew decided this special moment should be drawn on his heat bag. I thought that was an adorable thought. I wish I could have bottled his beautiful recount of that day. It was very touching to hear his appreciation for soldiers who served our country and the detail of the ceremony.
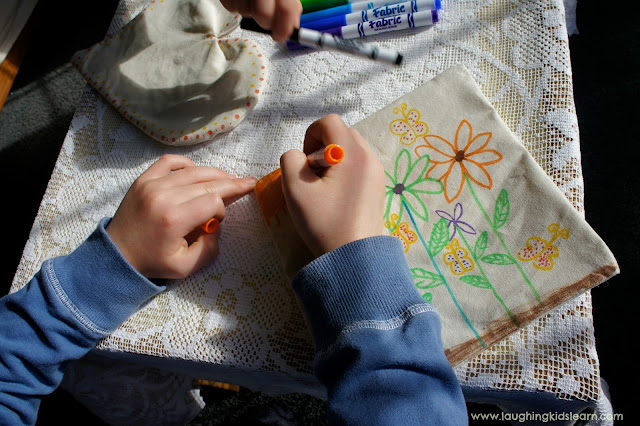
My lovely niece decided to draw a beautiful garden scene because 'it makes you happy'.
What more could you want? :)
Here are their completed drawings.
Of course you can write messages on them too!
Once they are done it's important to heat-set the ink so give them a once over with the iron.
Fill the bags with 500g rice or wheat. If you choose to use rice then you can include this well known poem of instructions on a slip of paper when you give as a gift -
Thanks ArtsyFartsyMama.com
Using a needle and thread simply hand sew the opening closed and you're done.
What a beautiful gift to give someone at any time of the year.
________________________
I hope that you have enjoyed reading this post.
Please leave me a comment below. I love hearing from you.
Kate x
__________________________
How else can you follow Laughing Kids Learn?


No comments: